|
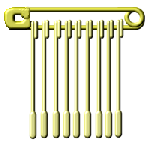
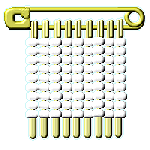
BEADED PINS Choose your safety pins according to the size of your beads : the tiny glass seed beads look best on the little gold-coloured pins, whilst slightly larger beads can go on small steel safety pins. The main test is if the pin can go though the hole in the bead. It is easiest if you thread the hanging pins onto the main pin before you start adding beads :put the point of the main "pinning" pin though the loop at the end of the pin you want to put the beads on and push the loop of the "bead" pin up to the coil of the other pin and wind it carefully round and between it (a bit like putting a key onto one of those split-ring keyrings) twist and wiggle and jiggle it until the hanging pin suddenly pops onto the BACK of the pinning pin and won't come off when the main pin is opened. (It is so much easier to demonstrate than explain!) You must put all the pins on from the same direction - if you get one wrong, you'll soon see what I mean when you start adding beads! Add all the pins before you start adding beads and keep them all fastened apart from the one you are working on. As each pin is filled, close it and tighten with small pliers so it can't accidentally pop open and lose the beads.
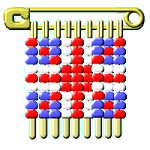
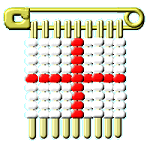
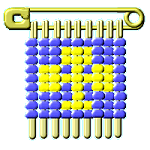
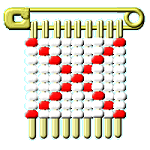
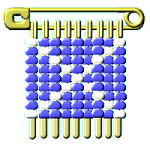
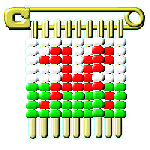
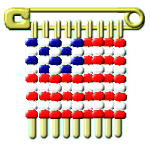
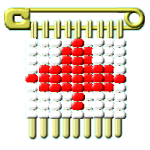
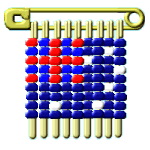
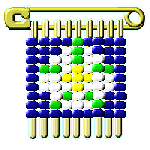
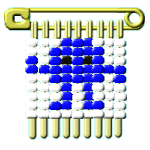
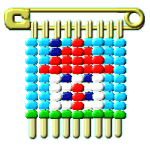
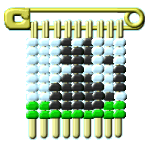
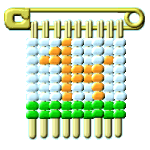
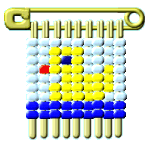
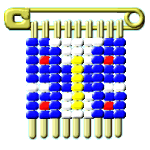
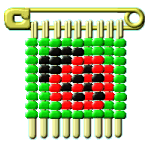
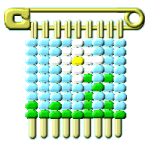
SOME DESIGNS TO GET YOU STARTED.....
For an alternative trefoil design right-click here and select "save target as..." |
|
Each of these pictures is a separate
Gif image : copy by right-clicking and using the "Save picture
as...." option to transfer it to your own computer disk or graphic
program, or you can print the whole page using the "Print"
option on your browser bar.
|

